If you have ever downloaded an application to track expenses and abandoned it a week later, the problem usually is not motivation. It is setup. A few smart configuration choices early on determine whether your expense tracker becomes a daily chore or a mostly automatic system you can trust.
This guide walks through practical setup tips and tricks that make any expense tracking app more accurate, faster to maintain, and more useful for real decisions like spending cuts, bill planning, and debt payoff.
Start with the “minimum viable setup” (so you do not burn out)
Most people overbuild on day one: dozens of categories, strict budgets for everything, and constant notifications. A better approach is to set up only what you need to capture clean data, then add complexity later.
A strong minimum setup looks like this:
- Link the accounts where spending actually happens (checking, main credit cards)
- Use a simple category structure you will not fight with
- Create one or two budgets that protect cash flow (for example, groceries and dining)
- Turn on a couple of high-signal alerts (for example, large transactions and bill due reminders)
Once you have two to four weeks of accurate data, you can safely refine.
Choose how you want to track: automatic, manual, or hybrid
Expense tracking apps generally support one or more of these approaches:
Automatic tracking (linked accounts)
Best for most people. Transactions import from your bank and cards, giving you consistency and time savings.
Setup trick: link fewer accounts at first. Start with one checking account and your top one or two credit cards. Add the rest after your categories and rules are stable.
Manual tracking
Best if you primarily use cash, do not want to link accounts, or want maximum privacy.
Setup trick: if you go manual, define a consistent routine (for example, log expenses once per day). Inconsistent manual entry is why many trackers fail.
Hybrid tracking
Often the most accurate. You link major accounts but manually add cash purchases, reimbursements, and one-off adjustments.
Setup trick: create one category called “Cash spending” and reconcile it weekly, so cash does not become a black hole.
Secure setup: link accounts safely and keep the data trustworthy
Linking accounts is where you get the biggest payoff, but it is also where you should be most deliberate.
Security basics that are worth doing every time
- Use strong, unique passwords for your bank and your finance app
- Enable multi-factor authentication at your financial institutions when available
- Review connected accounts quarterly and remove anything you no longer use
For general consumer guidance on protecting financial accounts, the Federal Trade Commission’s identity theft resources are a solid starting point.
Add accounts in a clean order
- Checking account (cash flow anchor)
- Primary credit card(s) (where category detail usually lives)
- Savings accounts (goals and buffers)
- Loans (student, auto, mortgage) and other debt
- Investments (only after spending data is stable)
This order reduces confusion and prevents your dashboard from being dominated by long-term balances before your day-to-day spending is accurate.
Understand verification steps during onboarding
Many modern finance apps require identity verification during sign-up to prevent fraud and to support features like debt and credit data. MoneyPatrol, for example, explains its authentication process and why it is used on its user identity authentication page. If your app asks for verification, treat it as part of building a reliable, protected system.
Categories: the setup that makes or breaks expense tracking
Most “my app is wrong” complaints come down to categories and rules, not math.
Use a category structure that matches decisions
A good category helps you answer a decision question:
- “Can I safely spend more on restaurants?”
- “Are subscriptions creeping up?”
- “How much are we paying for car ownership, all-in?”
A category list that is too detailed (for example, separating “coffee” from “snacks” from “lunch”) usually creates more recategorization work without improving decisions.
Practical tip: keep the top level simple (Housing, Transportation, Food, Bills, Shopping, Health, Travel, Savings, Debt Payments). Add detail only where you intend to change behavior.
Fix the three transaction types that confuse every app
- Transfers: moving money between your own accounts should not count as spending. Label these consistently as transfers.
- Credit card payments: this is debt repayment, not an expense category like “Shopping.” If your app double-counts, adjust the categorization so you track spending at purchase time.
- Reimbursements: create a dedicated approach (either a “Reimbursements” category or a tag) so your reports do not inflate real spending.
Use rules to reduce repeated cleanup
If your app supports rules (many do), set them up after you have seen the same merchant two or three times.
Examples:
- Always categorize your electric utility as Utilities
- Always categorize a specific payroll source as Income
- Always mark your internal transfers as Transfers
This turns expense tracking from “fixing everything” into “reviewing exceptions.”

Budgets that actually hold up in real life
A common mistake is budgeting like life is perfectly monthly. Many households get paid biweekly, have irregular bills, and spend more on certain categories seasonally.
Budget from cash flow first, not wishful thinking
Before you set category targets, confirm these numbers:
- Typical monthly take-home income (use a 3 to 6 month average if income varies)
- Fixed bills total (rent or mortgage, insurance, minimum debt payments)
- True essentials that fluctuate (groceries, utilities, fuel)
If you want a budgeting framework that aligns with many financial counselors, the Consumer Financial Protection Bureau’s budgeting resources are a helpful reference.
Use “soft” budgets where precision does not matter
Not every category needs a strict cap. Consider:
- Hard budgets: dining out, shopping, entertainment
- Soft budgets: utilities, medical, car repairs (monitor trends instead of enforcing a fixed number)
Add sinking funds as categories (even if the money sits in one account)
Sinking funds are planned future expenses like car maintenance, gifts, annual subscriptions, or travel. Tracking them as categories helps you stop treating predictable expenses as surprises.
Trick: if your app supports goals, you can mirror sinking funds as goals so progress is visible.
Bills and debt: make your tracker prevent mistakes, not just record them
Expense tracking is useful, but bill tracking prevents late fees and protects credit.
Set bill reminders based on when you need to act
Do not remind yourself “on the due date.” Remind yourself early enough to fix issues.
A practical pattern:
- Reminder 7 days before due date (verify amount, confirm cash)
- Reminder 2 days before due date (final check)
If your app supports customizable alerts and reminders, use them for deadlines that cost money when missed.
Track debt like a project
Debt tracking becomes motivating when you can see both:
- Current balances
- The trend over time (is the line going down consistently?)
Tip: if you are making extra payments, label the extra portion clearly so you can see your payoff effort in reports.
Income setup: make your reports match reality
Income can be trickier than spending, especially with variable pay, bonuses, side gigs, or reimbursements.
Keep income sources distinct
Separate:
- Primary paycheck
- Partner paycheck (if applicable)
- Side income
- One-time inflows (tax refund, bonuses)
This helps you avoid building a lifestyle budget on income that is not repeatable.
Handle refunds the right way
Refunds should reduce spending in the original category, not inflate income.
Tip: if your app imports a refund as a positive transaction, recategorize it as a negative expense in the original category (Shopping, Travel, etc.) when possible.
Alerts and insights: set guardrails, not noise
Most people either turn on too many alerts or none. The sweet spot is a short set of alerts that catch expensive mistakes.
High-value alerts to consider:
- Large transaction over a threshold you choose
- Low balance warning
- Bill due reminders
- Budget threshold (for example, at 80 percent of dining budget)
- Unusual fees (overdraft, bank charges)
Trick: start with just two alerts and add one at a time. If an alert does not change behavior, it is noise.
Reconciliation: the fastest way to stop “my totals are wrong”
If you want confidence in your numbers, do a quick weekly reconciliation.
What to check:
- Pending vs posted transactions (pending can change, so do not panic mid-week)
- Duplicate imports (rare, but possible)
- Missing cash purchases (if you use cash)
- Categorization outliers (a grocery store categorized as Shopping)
If your app supports account reconciliation, use it as a short weekly habit. It is usually 5 to 10 minutes and saves hours of confusion later.
Reports: turn tracking into decisions
Once your data is clean, reports become the reason you keep using an expense tracking application.
The three reports that matter most
- Spending by category over time: shows where lifestyle creep is happening
- Cash flow (income vs spending): shows whether your plan is actually sustainable
- Net worth trend (assets minus liabilities): shows long-term progress even when a month is messy
If your app also supports investment tracking and credit score monitoring, those can round out the picture, but spending and cash flow come first.
A simple cadence that works
| Review cadence | What you look at | What you decide | Why it matters |
|---|---|---|---|
| Weekly (10 minutes) | Recent transactions, category outliers, upcoming bills | Fix categories, adjust spending this week | Keeps data accurate and prevents surprises |
| Monthly (30 to 45 minutes) | Category totals, cash flow, savings rate | Set next month budgets, pick one change to test | Turns tracking into behavior change |
| Quarterly (60 minutes) | Trends, debt balances, net worth, recurring subscriptions | Cancel, renegotiate, refinance or accelerate payoff | Big wins usually happen here |
Advanced setup tricks (optional, but powerful)
Use tags or notes for life situations
If your app supports tags or notes, they are perfect for questions like:
- “How much did the new baby change monthly costs?”
- “What did we spend on the move?”
- “What did travel cost all-in?”
Categories tell you what it was. Tags tell you why it happened.
Separate “subscriptions” for fast savings opportunities
If you want one of the quickest spending wins, create a dedicated category for subscriptions. After 60 days, review it and cancel anything you do not actively use.
Couples or households: agree on category rules
Shared finance tracking works best when you agree on:
- What counts as “Personal spending” vs “Household spending”
- How to label transfers between partners
- Which categories must be consistent (groceries, dining, childcare)
The goal is fewer debates during categorization and cleaner reporting.

Common setup mistakes and quick fixes
Mistake: you created too many categories
Fix: merge categories until recategorization becomes rare. If you cannot remember the difference between two categories, they should probably be one.
Mistake: transfers are counted as spending
Fix: standardize transfers and credit card payments. Your spending should be captured at the purchase transaction, not when you pay the card.
Mistake: cash spending disappears
Fix: add one weekly cash entry or track cash purchases manually as you go, but pick one method and stick to it.
Mistake: you check the app constantly
Fix: move to a schedule. A tracker is a tool, not a feed. Weekly review plus bill reminders is enough for most people.
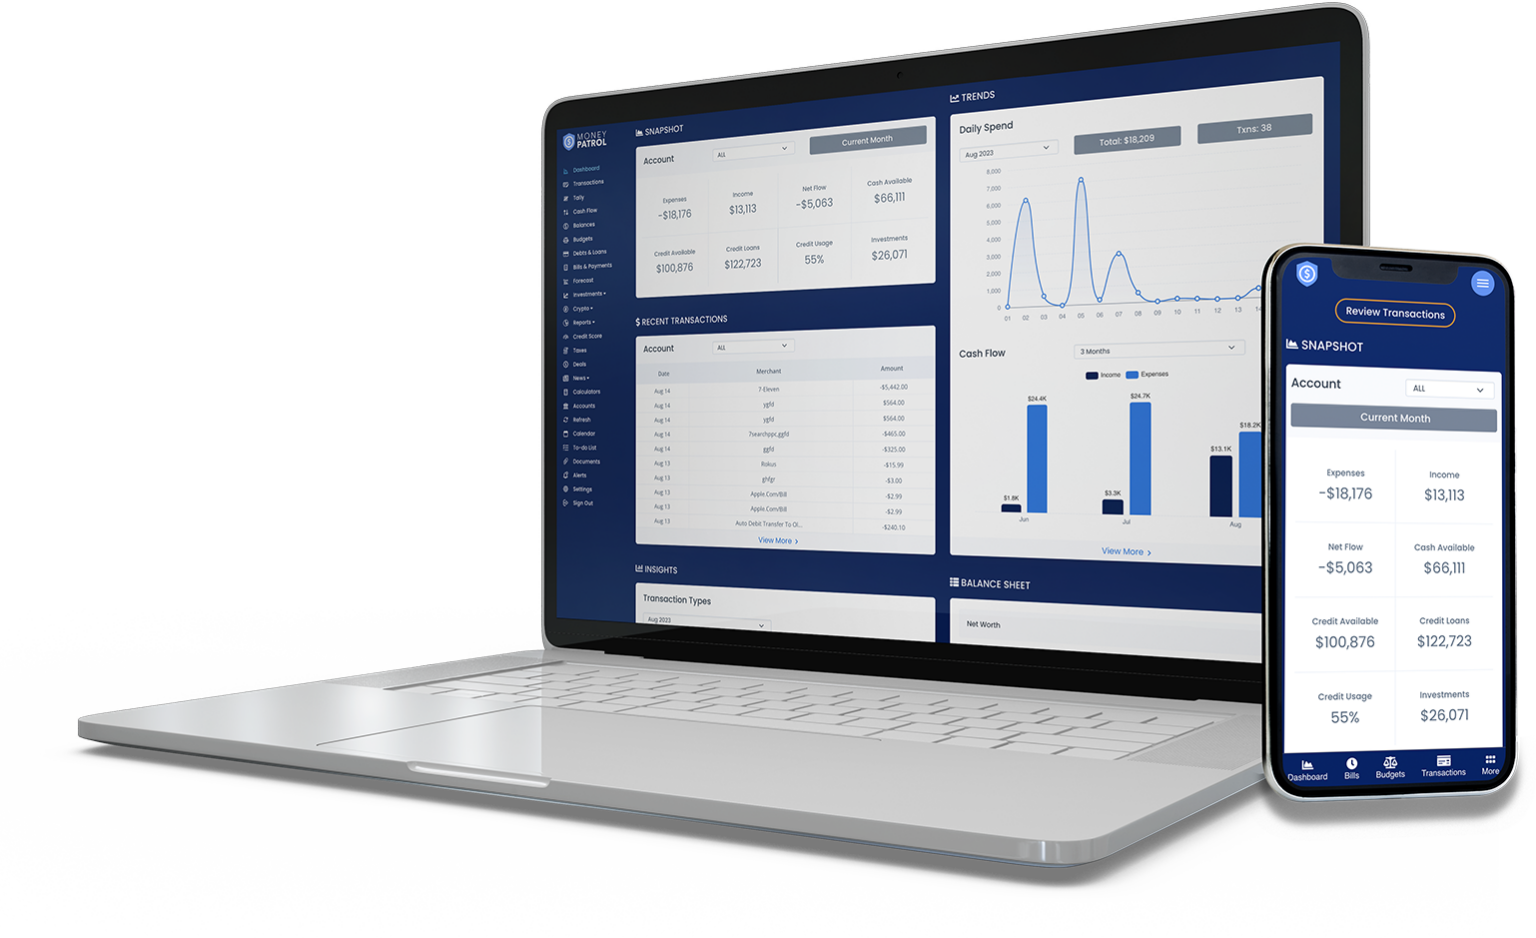
Putting it all together with MoneyPatrol (example workflow)
MoneyPatrol positions itself as a free, all-in-one personal finance and budgeting app with features like expense tracking, budgeting tools, bill and debt tracking, income management, investment tracking, credit score monitoring, alerts, reconciliation, and detailed reports.
A practical way to start without overcomplicating it:
- Connect your primary spending accounts first, then expand
- Confirm categories and set a couple of basic rules
- Turn on a small set of alerts that prevent costly mistakes
- Review reports weekly and adjust monthly
If you want to explore the product directly, start at the MoneyPatrol homepage and, if you are evaluating budgeting apps, compare the workflow above to the features described in its best free budgeting app article.
The goal: less tracking, more clarity
A well-set-up application to track expenses should feel like this: transactions arrive automatically, categories are mostly correct, reminders prevent missed bills, and your reports tell you exactly what changed and what to do next.
If you take just one action after reading, make it this: simplify your categories and set one weekly reconciliation time. That is the fastest path to numbers you can trust and decisions you will actually follow through on.


 Our users have reported an average of $5K+ positive impact on their personal finances